
Languages
Wamp-drupalsite
Creating a website using drupal
Installing WampServer on your local computer
In order to run your website on your local computer, you will need to install server stack like the WampServer which am going to use in this tutorial.
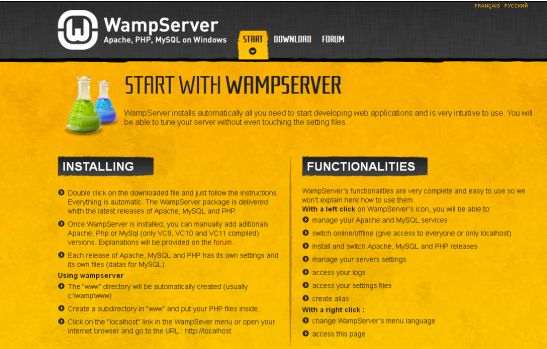
WampServer is a software stack for Windows web development environment, it makes it easier to create applications in Apache2, MySQL, and PHP.
The software is opensource.
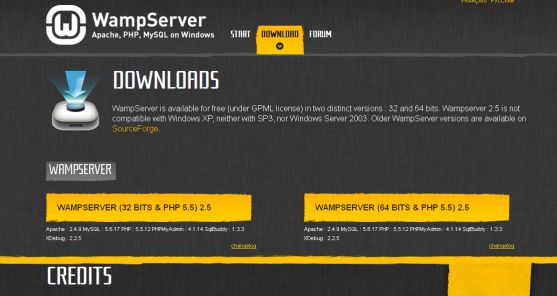
- To download and install WampServer go to http://www.wampserver.com/en/ and double click on download to download the latest version.
You can either download for 32 or 64 bit versions of windows .
- To find out which version of windows your computer is running on, click on the Start button
 right click on my Computer and then properties, under system , you can view the system type.
 - Now that you know which version of windows you are using, you can download the appropriate version
- Run the installation file, following the installation instructions until the file is completely installed.
- Check if the Wamp icon in the Start Toolbar is green. A red color indicates an error, in this case you will have click on put online if by default this is offline. If this doesn’t work then you probably need to do the installation again.
- Go to C:\wamp and make sure your www directory exists.
- click on the wamp icon and double click localhost to see if your installation was successful.
- If you see this window, then congratulations you have successfully installed WampServer on your computer

- Create a Database by clicking on PHPMyAdmin, click on Databases on the Toolbar. Now you can now create a database by typing in an appropriate name. Make sure you note this down somewhere because it will be needed for the drupal site installation
Installing Drupal on WampServer
- go to https://www.drupal.org/download and download the latest version of drupal,you can either download a tar or zip file.
- Then extract the drupal folder from the zip file.Open the extracted folder and you will find another folder with the same drupal name.
- Copy this folder in your C:\wamp\www and rename the folder to your desired site name
- Open the site folder, go to sites\default and copy the default.setting.php and paste it in the same folder .Rename the file to setting.php
- Open your localhost by clicking on the WampServer icon. You will now find your under Your Projects
- Double click on it to install drupal on your WampServer
- You will be directed to drupal installation site. You will be prompted to select if the installation should be down using a Standard or minimum profile. It is recommended to select Standard. Click on the ‘Save and Continue’ button.
- The next page request for the installation language. The default language is english if you prefer any other language you can also do that. Click on the ‘Save and Continue’ button.
- You will now be brought to the database configuration page. I recommend you use the following settings here:
Database type: Select MySQL, MariaDB or equivalent
Database name: enter the name of the database you created on PHPMyadmin
Database username: enter root
Database password: leave blank, then Click on 'Save and Continue' button.
- The next page will be the Configure site. Use the following settings here
Site name: Enter the name of your website, by default it is localhost
Site e-mail address: enter in a functioning email address
Username: You can enter in any username or admin as most people do
E-mail address: just like you did above , you can also enter a different one if you want
Password: enter an appropriate admin password which is good secured
Confirm password and click on the 'Save and continue' button. If you now see Congratulations your drupal installation is completed then you can view you site to see how it looks like